
If you were around last year, you might remember we spent several days building a patio garden only to have an unusually wet year drown everything. You see, Alabama summers are notoriously hot and dry. So when we picked out pots for a patio garden, we thought having ones with solid bottoms and putting drainage rock in the bottom would be our best bet. Things didn't turn out so well, and this year is shaping up to be just as soggy. So having a patio garden for vegetables for the next few years doesn't look like it will work.
 |
| This was the garden about a week after planting and few days before the downpours began. |
According to the schedule, this year was supposed to be the chamomile bed, a fire pit and attached patio, and the old patio garden. Then next year, we'd build a pergola with built in planters and benches for grape vines and blackberry bushes to climb over. And in 2018, we'd look into raised beds for other fruits and vegetables. Hubby and I decided to change up the plan's schedule.
 |
| I can't wait to see how much this changes in the next few years. |
We went ahead and ordered a raised bed kit, and it arrived last Monday. I barely managed to wrestle the box into the house from the porch by myself, so we waited until Saturday to build it. That was good though, because it became a family project.
We started by running to Lowe's and purchasing landscaping fabric, chicken wire, wooden stakes, and a rubber mallet. We unpacked the box and got all our materials outside, along with a bag to collect the packaging materials. Then we found where we wanted the bed to go and began laying it out.
 |
| Landscaping fabric went on the bottom, just to help keep weeds and grass at bay. |
First, we placed a simple outline using the side pieces and laid out our landscaping fabric. We used some extra edging stones we have waiting for the chamomile bed to be finished to hold it down. Then we rolled out our chicken wire over that. We're hoping these two layers will help prevent weeds, gophers, and clones of our backyard tree from ruining the garden from below.
 |
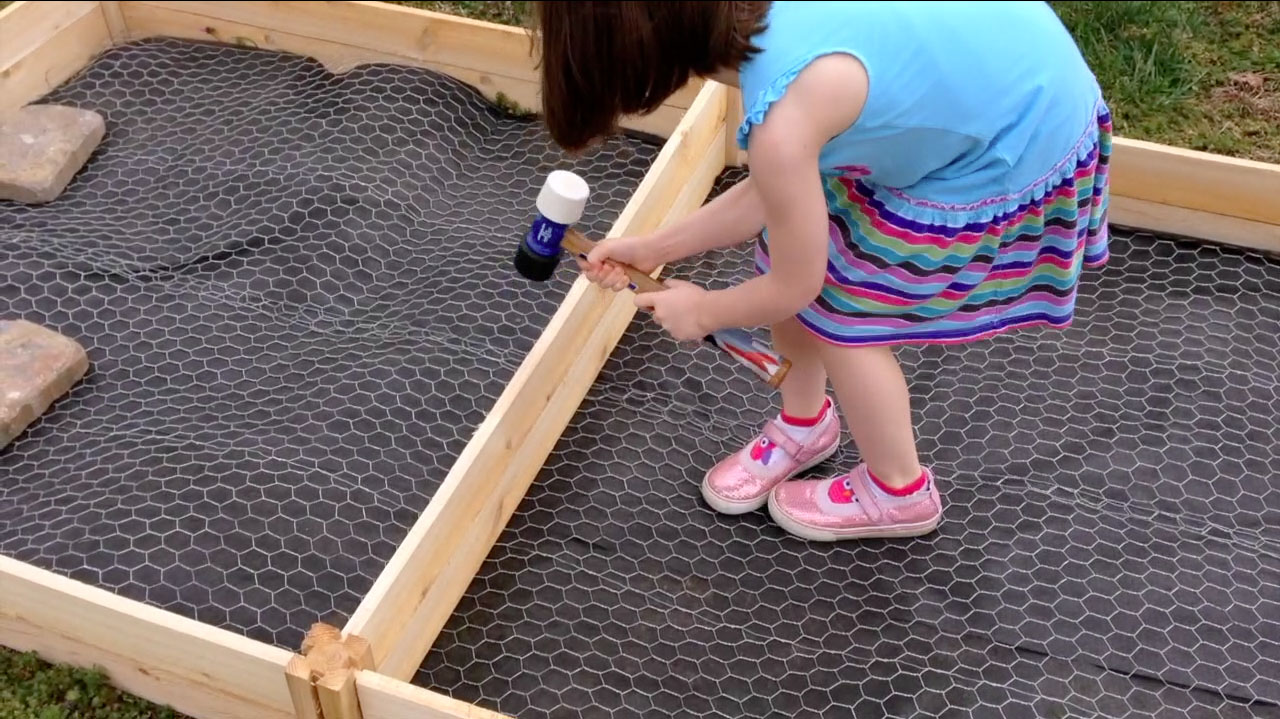
| Hubby placed the boards, and Boo Bear hammered them in. |
Once those layers were down, we began building the sides of the beds. Other than helping haul stones and standing on the fabric before the stones were placed, this is where the girls helped the most. Once the boards were lined up, it didn't take much to encourage them into place with the mallet.
 |
| Sneak taking her turn. |
They loved it. Boo Bear actually quipped, "We need to thank Thor for lending us his hammer," when she finished her turn. (She's referencing the Marvel character since she loved Avengers.) Hubby returned with, "Maybe you're the new Thor."
 |
| Well, I've seen numerous gardener's recommending it. Figured we'd try it. |
Once all the sides were in place, Hubby and I drove six anchoring stakes into the ground. We put one at each corner and one in the middle of each side. Then I nailed the sides of the bed to the secured stakes while Hubby and the girls collected all the cardboard boxes we saved up during the year. We broke the boxes down and spread the cardboard out over the fabric and chicken wire to provide yet another barrier against tree clones, weeds, and gophers as well as a kind of time released fertilizer.
 |
| She's so excited for vine ripened tomatoes again. |
Once all that was done, we started dragging over the pots we used last year and dumping the saturated dirt into the beds. There ended up being a fair amount of rock in it because of the drainage rock we put into the bottom of the pots last year. However, we only plan on planting shallow rooted plants that don't mind rocky soil in this particular bed. It also turned out to be only half as much soil as we need, but we knew we wouldn't have enough. We're going to let it settle until spring break in a couple weeks. Then we'll finish filling it and plant then.
 |
| We were flagging, but cleaning up is so important. |
We took a few minutes to clear away the packing material and what pots were ruined in a desperate attempt to add drainage. We were able to save a few of the pots for herbs, and we returned those to the patio for cleaning when it wasn't threatening to start pouring down any time.
 |
| We'd saved six or so mandarines just for this. |
Finally, we went inside to quickly peel and eat the mandarin oranges we had left in the fruit bowl. We didn't just do that because it was past lunch time, and we were both hungry and thirsty. We made sure to save the peels, and then I went out and tossed them all over the top of the new garden bed. There are plenty of neighborhood cats, including our own McGonagall, who would love all that fresh dirt for a litter box. We obviously don't want this, so I've been looked for ammonia free deterrents since before we started the patio garden last year. Turns out they don't like the smell of citrus, and we love oranges. Keeping fresh, smelly rinds in the garden all year's no problem.
 |
| McGonnagall has a weird obsession with sleeping in flower pots, so those peels are needed! |
That's it for now. As it turns out, we had several extra side boards and four posts because it was a kit where you could adjust the depth of the beds, so it's like we get a bonus 4 x 4 bed! We didn't build it today because we'd only gotten enough chicken wire for the 4 x 12 bed we'd ordered. We're going to add that one onto this one when we finish it during spring break.
No comments:
Post a Comment