Hubby talked me into trying my hand at making candles just about a year ago, and I started buying supplies then. I didn't even try to actually make until Christmas Eve though.
We had a get together where we were supposed to bring something for "Dirty Santa," and we were one gift short. So I decided to try my hand at it that night and get the votives that resulted from my brand spanking new votive molds the next morning. Thankfully, I have an aunt who makes container candles. She was able to give me some good advice about melting the wax in a double boiler instead of the microwave to prevent flashing and waiting until the wax was back down to 150 degrees before adding the fragrance oils to prevent the same. Oh, and that unlike soap, lotion, and bath soaks, you don't need vanilla color stabilizer in candles and wax tarts. (Thanks, Aunt G!)
 | |
|
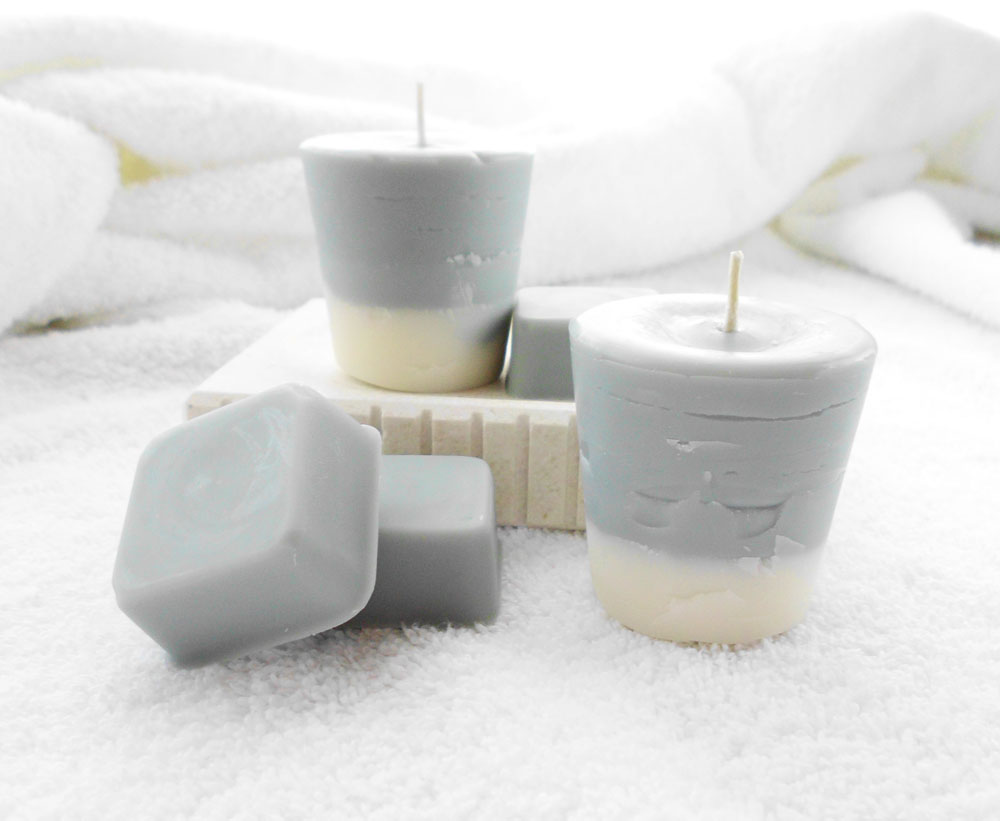
So I started with some strawberries and champagne scented candles, and I followed the ombre instructions, starting with the dark colored wax and adding the uncolored wax just as the last layer started to harden. After I finished pouring that batch of candles and tarts, I decided to try the reverse for my Oncoming Storm fragrance. I thought going from white to gray to stormy black would be perfect considering the name.
 | |
|
I learned another important bit about candle making yesterday morning too. You need to leave candles to cool for six hours or more before you even try to take them out of the molds. The wax contracts as it cools, but you need to wait until the core of the wax has had time to fully cool. Otherwise, you get cracking and flaking.
You see, the directions I had were for making candles directly in a clamshell, so they wouldn't be unmolded until someone bought or otherwise received them. I have silicon molds, and I planned to package these in novelty boxes.
At first, I thought it was the mold. The ones that cracked the worst were in the brand new mold that'd never been used before. Then I went to make some yesterday morning, with the intention of taking all the photos that morning before a forecasted storm system blew in and made my lighting horrible. Three hours after pouring, they felt cool and hardened, so I thought they'd be fine to remove.
As you can see, it was a disaster. They were no where near ready to be removed, and they came out missing whole chunks!
 | |
|
It's a very literal illustration of, "Haste makes waste."
Still, the great thing about crafting, is you can learn something from everything you do. So, these candles aren't so much a fail as a hands on lesson.
Yep, that's my story, and I'm sticking to it.

Wow! These are awesome candles. I love the omber design. I love the red and the pink combination. They look sweet and delicious. Great job! Thanks for sharing.
ReplyDelete- ConniesCandles.com
Thank you very much. That's very sweet of you to say.
Delete